
ReMake MFA Instructions
Once the Systems Administrator has enabled MFA on your organisation, you must use Google Authenticator to verify yourself to login to the ReMake platform.
First-time Setup
Step 1
In your web browser, go to ReMake.
Use your login details for the first time.
You will see the following pop-up.
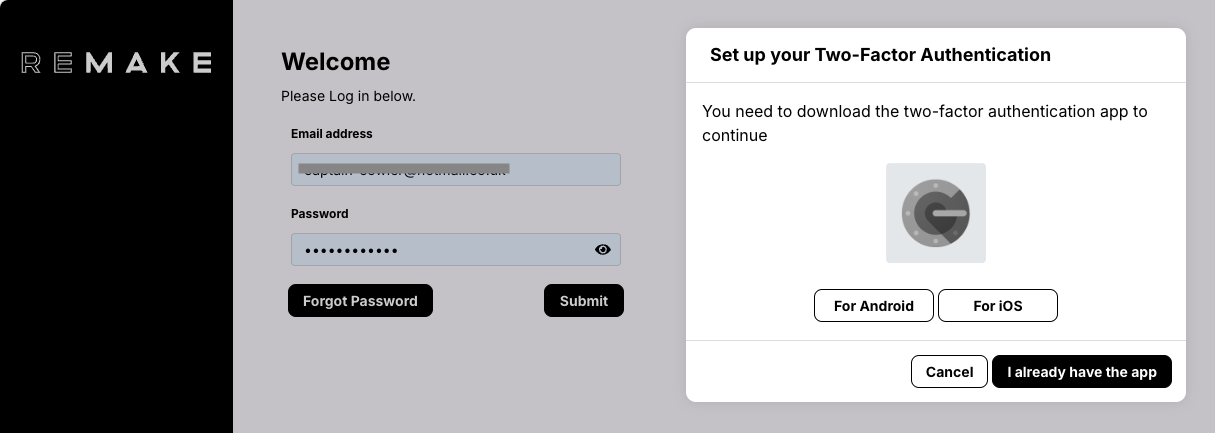
If you haven’t already got the Google Authenticator app installed on your mobile device, then please download and follow their instructions.
Step 2
Press ‘I already have the app’.
Now, with your Google Authenticator ap,p use the Scan QR to add ReMake, as per the image below.
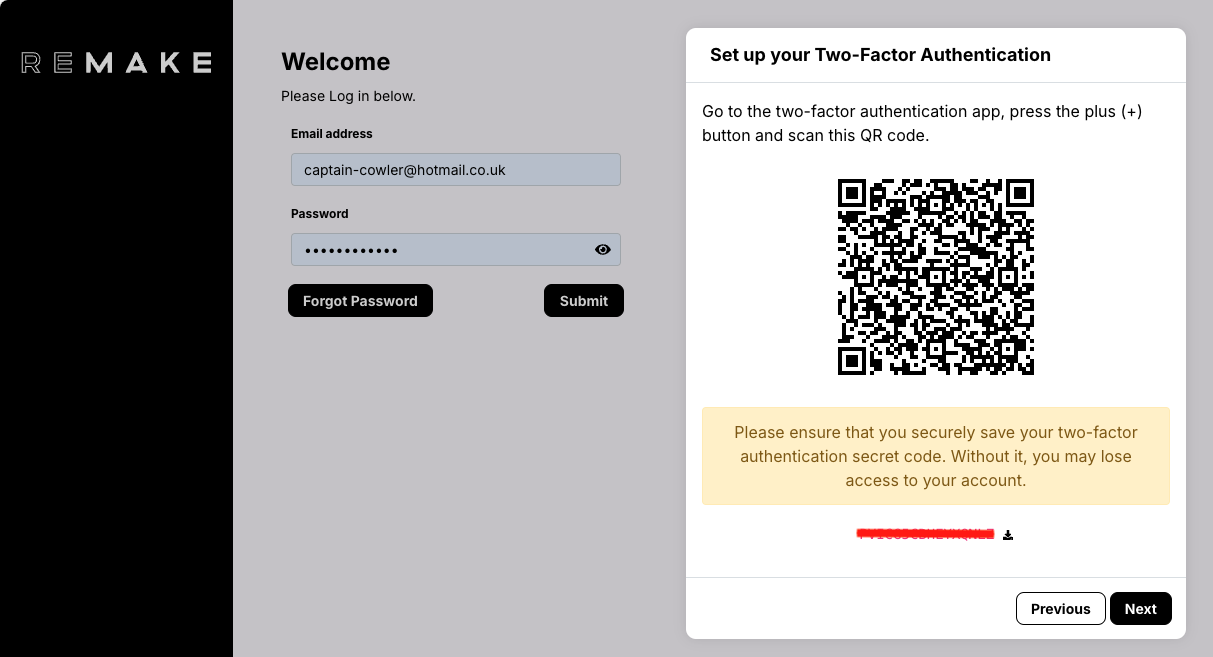
You will be prompted to download a copy of your unique security code should you lose your phone.

Now press ‘Next’.
Step 3
You are now prompted to enter the 6-digit code provided for the ReMake account you have just set up.
Step 4
Press ‘Login’.
You’re done! The next time you log in you will be asked for the 6-digit code from your Google Authenticator app.
Getting a New Code
If for any reason you need a new code, you can create a new MFA account on your authenticator. Please delete old Authenticator ReMake codes from the Google Authenticator app and start the process below.
Step 1
From ReMake, use the ‘Get new code’ option. You will see a pop-up message saying you will receive an email to check.
Step 2
Your email will contain a new code you need to use on your Google Authenticator app instead of using a QR code. Use the ‘Add’ function and ‘Enter a setup key’ on Google Authenticator to create your new 6-digit code generator for ReMake.
Name this new account something that you remember as your ReMake code generator.
Step 3
Log back in to ReMake and use your new 6-digit code generated from Google Authenticator.
Need Help?
If you have any questions or need more information, please reach out to the ReMake team at: [email protected]